Flooring Can Be Fun For Anyone
Wiki Article
The Main Principles Of Flooring Stores
Table of Contents5 Simple Techniques For Wood FlooringLittle Known Questions About Flooring Installation.The Best Guide To Hardwood Floor InstallationWhat Does Installing Laminate Flooring Do?Hardwood Floor Installation for Dummies3 Easy Facts About Hardwood Flooring Cost ExplainedHardwood Floor Installation Things To Know Before You Buy
Leave the very first layer for 24 hr as you await it to completely dry. You must still leave the garage well-ventilated and also stay clear of going in the room as it dries out (flooring installation). Before applying the second coat, inspect the floor for any problems. If there openings or cracks, make use of the epoxy filler and wait for 12 16 hrs for it to completely dry.Our epoxy flooring installers will certainly additionally justify the product with specialist setup services.
Close this dialog home window Share & More Back to story Discuss this project this web link is to an external website that may or might not fulfill access standards.
Flooring Installation Can Be Fun For Anyone
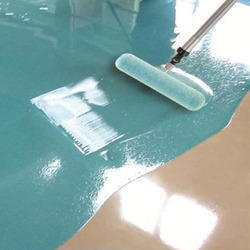
The procedure of measuring, pigmenting, blending, dual potting, pouring and spreading is repeated till the floor is completed. Glass, Cast 3 epoxy finish material has exceptional self-levelling residential or commercial properties, so will only require easy work to make certain that it has full coverage and a consistent density - after that the material will do the rest of the job.Glasscast 3 is additionally self-degassing so the bubbles will stand out on their own, although we noticed a tiny spot of floor where bubbles didn't appear to be standing out - this could be due to a small spot of floor not being pre-sealed - to overcome this we rapidly passed over the surface with a gas torch to rupture them.
As soon as you more than happy with the flooring it's time to secure the space and also leave it to totally cure - this will allow the material to degas, self-level and treatment to a fantastic high gloss surface like this! Remember it is really important to secure the area to guarantee that there are no draughts as this could trigger dust and also particles to land in the material throughout the remedy.
Vinyl Flooring Fundamentals Explained
The listed below guide is a recap of the steps on how to use epoxy flooring paint. Such epoxy systems are typically used with one coat of guide & 2 layers of epoxy flooring finish.A Self leveling epoxy floor tends to have a. The below video clip clarifies the distinctions between a roller applied and also a self leveling floor. Step 1. Preparing the surface before using the epoxy Preparation of the substrate is needed in order to make sure attachment between the epoxy item and also the substrate.
The Only Guide for Laminate Flooring
Making use of a floor grinder permits you to utilize different sorts of grinding devices depending on your requirements. For instance if you require to grind rough concrete, you need to use an aggressive and rugged ruby tool. If you require to provide weblink the existing surface area a light sanding, you can pick instead to utilize a high grit sanding device., don't believe cases that priming is not necessary. Priming will certainly offer your flooring a longer life as well as much better attachment to the substratum.
This is very common with dusty as well as soft cement based floorings. Use a correct electrical mixer to mix the An and also B component of the guide.
The Main Principles Of Wood Flooring

Most likely it will certainly additionally call for a bit of fining sand prior to continuing to the following action. Several days have actually most likely passed considering that you began the process of mounting your epoxy floor. If you have done all the previous actions properly, you are lastly ready to apply the very first coat.
You will require to gently sand these locations to eliminate any type of marks that could be visible on the last floor. Utilize a vacuum cleaner to gather any type of dirt.
Rumored Buzz on Flooring Stores
See to it that all the brand-new cracks and also click for more info openings are secured & filled before starting the following coat. If required wait an extra dry for the grout to dry before re-coating. If you followed the epoxy floor covering process in this article, then the last coat ought to be the easiest step.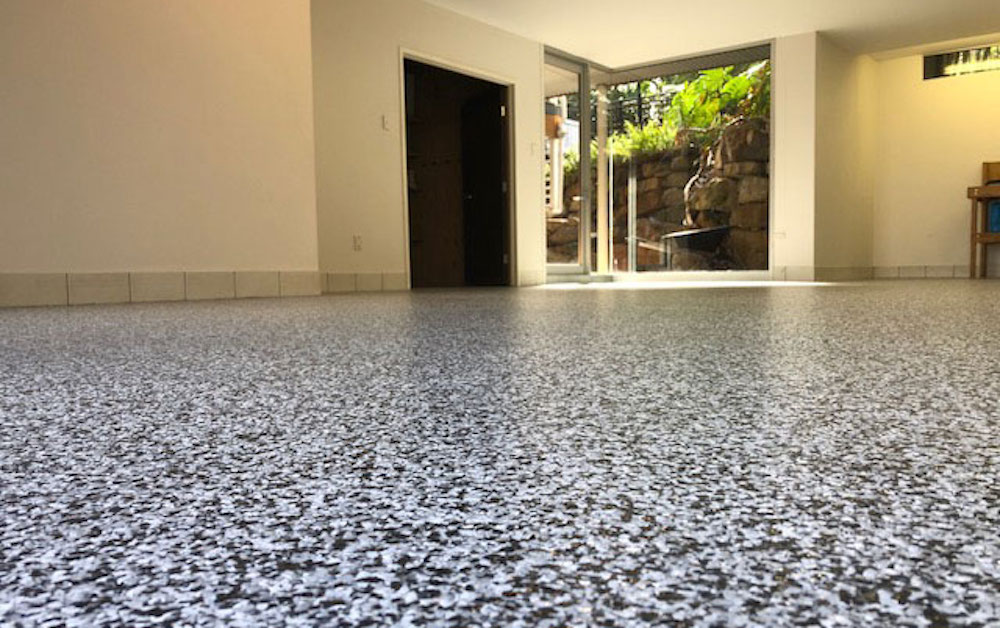
This program was developed for applicators who desire to get right into epoxy floor covering. You will obtain that has actually been distilled right into over 20 lessons - hardwood flooring.
The 6-Second Trick For Flooring
Action 2: Examine Weather Prediction Before you begin make sure the air temperature is 60 levels as well as increasing and that your piece goes to a minimum of 50 levels. It will be near difficult for the epoxy to establish if you attempt to do this in the winter months. Step click here to find out more 3: Sweep It Completely Utilize a broom to clean up the piece.The objective is to not over-wet the floor so it will likewise dry swiftly. Step 6: Apply Etch Pretreatment Mix the citric acid concrete engrave with warm water per the instructions. Then apply, scrub, as well as squeegee off the floor likewise as the degreaser. The citric acid will certainly help open the leading pores of the concrete so the epoxy adheres well.
Tip 8: Examination For Existing Sealer Examine to see if there is still leading sealant on the floor. If the water grains up, there is an existing sealer that might interfere with the attachment of the epoxy.
Report this wiki page